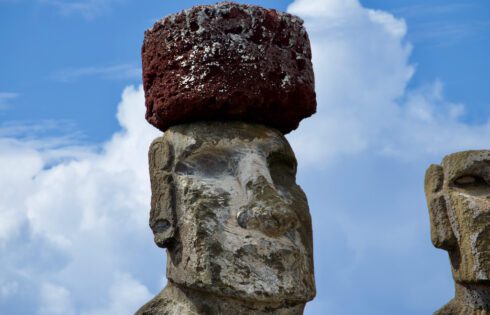
Why Isn’t Easter Island Officially a Wonder of the World? It’s a Little Complicated
If there’s one place in the middle of the Pacific Ocean that seems like it would qualify as a wonder of the world, it’s probably Easter Island. But is Easter
If there’s one place in the middle of the Pacific Ocean that seems like it would qualify as a wonder of the world, it’s probably Easter Island. But is Easter

Singapore Airlines’ First Class Suites offer a truly special experience. They’ve kept what made their previous suites great — outstanding service, comfortable double beds, and excellent champagne — while making

Makalawena Beach is one of the most stunning beaches on the Big Island. The beach requires a bit of work to get to which means that chances are you will
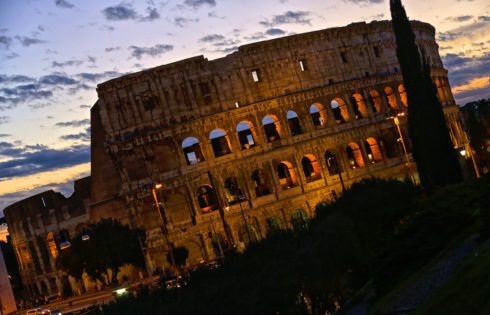
The Palazzo Manfredi is a bucket-list worthy hotel in the heart of Rome. It’s a small, boutique property but it offers one of the most memorable hotel views you’ll probably
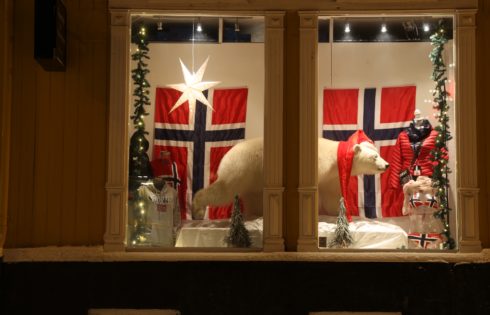
Tromsø, Norway is a fantastic winter destination. It’s one of those festive European cities that are big on Christmas and one of the top destinations for prime northern lights viewing.

Whether you have a full week or just a weekend in the Algarve, you’ll still have time to take in some of its most beautiful beaches. We only had about

If you’ve done a lot of flying, chances are that when going through TSA security you have experienced a good swab or two. Whether it was your hands or baggage

If you have a love for dinosaurs and their history, Denver is truly one of the best cities to visit. You can spend half a day exploring the world famous
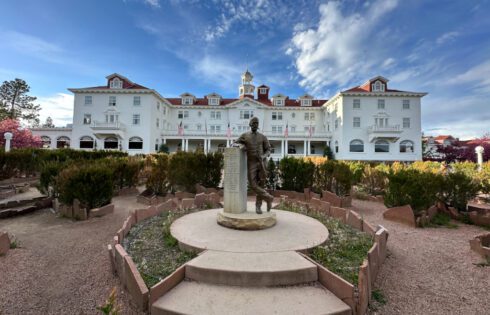
Estes Park, Colorado, is famous for breathtaking mountain views — but it’s also home to a hotel that looms large in horror history: the Stanley Hotel. This grand, eerie hotel

A lot of travelers get a little bit nervous when going through airport security. They are afraid of something going wrong and having a badged TSA officer give them trouble
