
Why the Sixth Floor Museum Is Still Dallas’ Most Powerful Tourist Destination
Dallas has carried the weight of its connection to one of the most pivotal moments in American history — the assassination of President John F. Kennedy. At the heart of
Dallas has carried the weight of its connection to one of the most pivotal moments in American history — the assassination of President John F. Kennedy. At the heart of
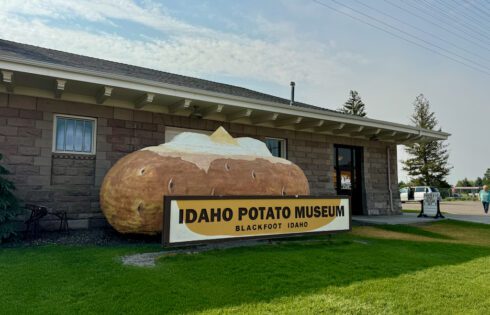
When you’re in Idaho, it’s hard not to think about potatoes. One of the best places to explore this fascination is the Idaho Potato Museum. This charming museum offers a

When one finds oneself in the lively hub of Pigeon Forge, Tennessee, a plethora of tourist attractions beckons. From the iconic Dollywood to the seemingly ubiquitous Mountain Coasters, the city
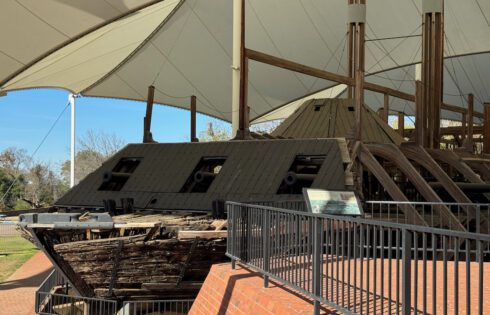
Civil War History is one of my new fascinations. Out of all of the recent wars that I’ve been studying, the Revolutionary War, the French Indian War, and the War
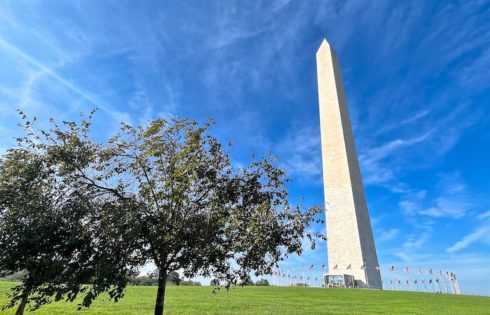
I’ve traveled all around the world and have seen a lot of bucket-list worthy places. And while it’s impossible to rank all of these places, in my opinion, the National
When one finds oneself in the lively hub of Pigeon Forge, Tennessee, a plethora of tourist attractions beckons. From the iconic Dollywood to the seemingly ubiquitous Mountain Coasters, the city
When you’re in Idaho, it’s hard not to think about potatoes. One of the best places to explore this fascination is the Idaho Potato Museum. This charming museum offers a
When you’re in Idaho, it’s hard not to think about potatoes. One of the best places to explore this fascination is the Idaho Potato Museum. This charming museum offers a
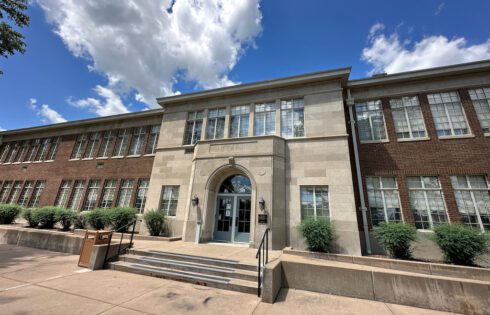
Numerous pivotal moments marked the Civil Rights era, but among the crucial landmarks in the desegregation movement is Monroe Elementary School, a school that was deeply connected to the Brown
Civil War History is one of my new fascinations. Out of all of the recent wars that I’ve been studying, the Revolutionary War, the French Indian War, and the War
