Can You Bring a Blender or Mixer on a Plane? Whisking it With TSA
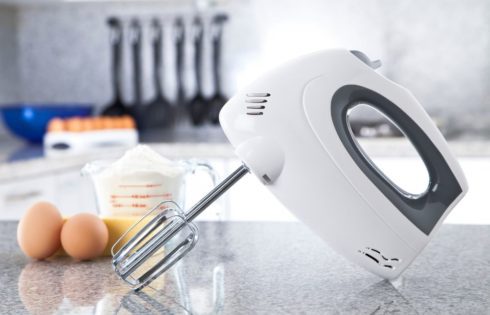
Bringing a blender or mixer on a plane is not the most common thing you see every day. However, sometimes people need to bring their blenders/mixers to stay healthy on
Bringing a blender or mixer on a plane is not the most common thing you see every day. However, sometimes people need to bring their blenders/mixers to stay healthy on
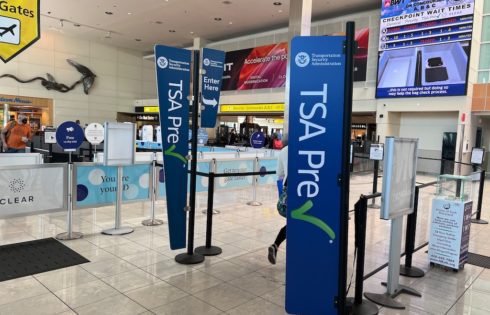
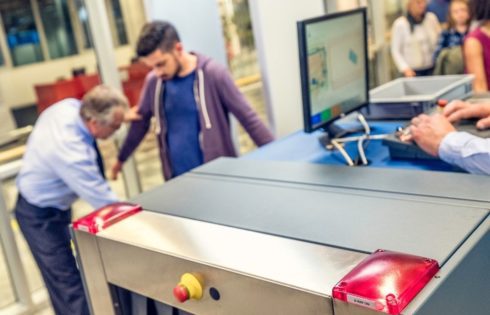
Even experienced travelers sometimes find themselves about to go through airport security with something that is not allowed. If this ever happens to you, you may be wondering what your
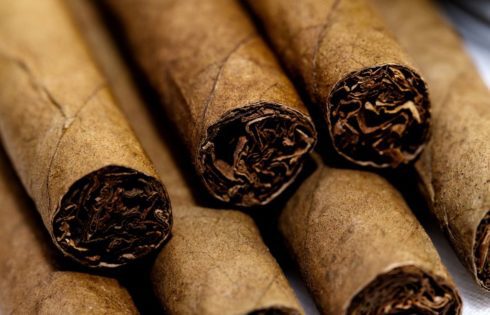
Want to enjoy your fine cigars when traveling but don’t want to give up your precious stogies when heading through TSA? I don’t blame you. But before you decide to
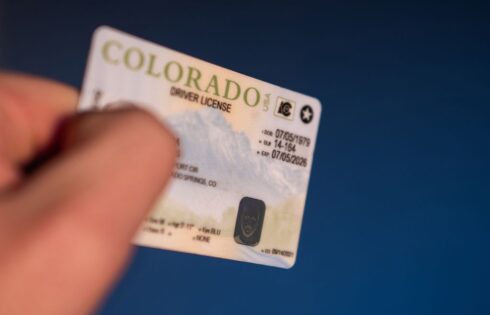
If you’re thinking about getting through airport security but worried about getting through with an expired, damaged, or even paper driver’s license, there are certain things you want to know

For many individuals, the process of navigating airport security can be quite anxiety-inducing. However, for those with medical conditions, this experience can be even more stress-inducing. Lots of people wonder
Millions of travelers store extremely private information on their cell phones and laptops these days. One worry when traveling through airports is the thought of other people getting access to
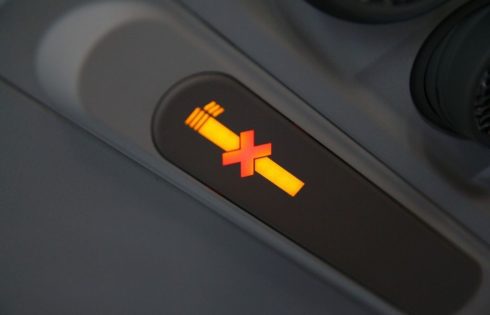
Are you thinking about bringing cigarettes on a plane during your next trip? Are you aware of the potential restrictions you might be facing? In this article, I will break
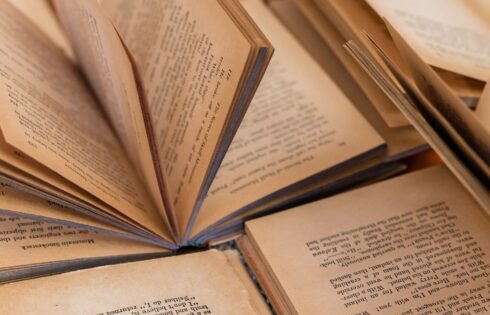
Lots of travelers like to bring books with them when they fly. The question is: will you run into any problems with TSA if you bring books with you in
It’s not uncommon to get pretty dehydrated when traveling. It could be because you have limited water intake or because you are traveling into dry environments like the cabin of

If you’ve done a lot of flying, chances are that when going through TSA security you have experienced a good swab or two. Whether it was your hands or baggage
