Nugget Falls Guide (Juneau, Alaska)
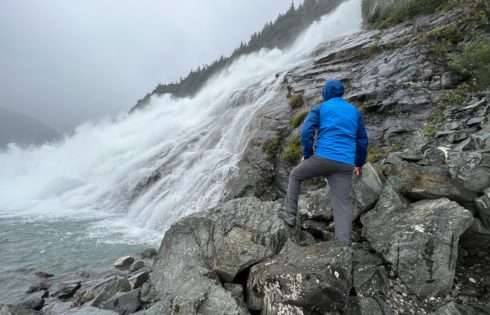
One of the most visited and photographed waterfalls in all of Alaska is Nugget Falls. If you’re visiting the Mendenhall Glacier Visitor Center, chances are you’re thinking about stopping by
One of the most visited and photographed waterfalls in all of Alaska is Nugget Falls. If you’re visiting the Mendenhall Glacier Visitor Center, chances are you’re thinking about stopping by
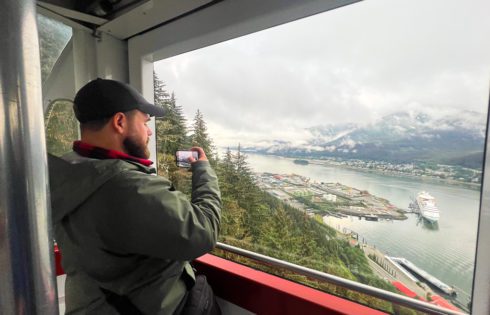
Towering above Juneau and surrounded by stunning alpine views, Mount Roberts offers one of the most breathtaking vantage points in Southeast Alaska. The Mount Roberts Tramway — now commonly branded

The El Tovar Hotel has been on my radar for quite a long time. Situated on the South Rim of the Grand Canyon, this is the place to stay for
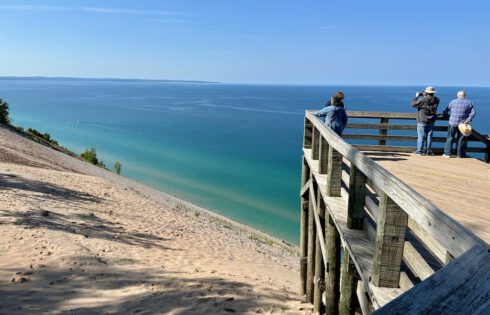
Tucked along a quiet scenic drive in Michigan sits a massive 450-foot dune with a view that feels straight out of a dream. Most visitors stay safely at the overlook
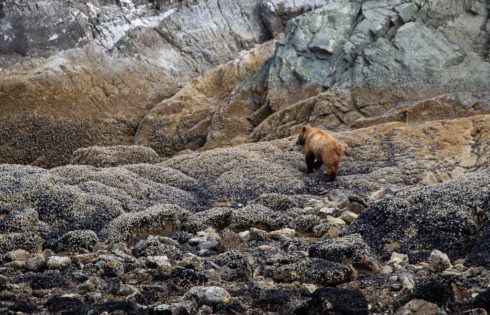
This isn’t just another scenic cruise—this is the Alaska boat tour that people dream about. You’ll glide past towering glaciers, spot sea otters floating on their backs, watch grizzlies foraging
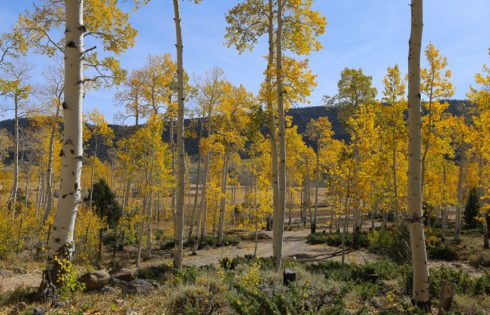
Tucked away in Utah’s Fishlake National Forest is a place so mind-blowing, it challenges everything you thought you knew about forests. From the outside, it looks like a peaceful grove
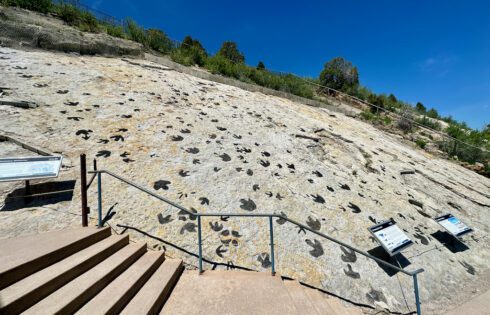
Dinosaur Ridge is one of the most interesting sites to see when in the Denver area especially if you have an interest in geology or those prehistoric giants that we

The El Tovar Hotel has been on my radar for quite a long time. Situated on the South Rim of the Grand Canyon, this is the place to stay for
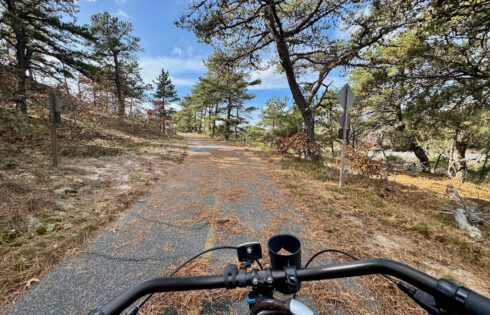
Cape Cod’s dunes are made to be explored—and this trail is the best way to do it. The Provincetown area is packed with things to do, but if you really
Just outside of Juneau, there’s a thundering waterfall that draws photographers, hikers, and wildlife watchers alike. Tucked beside a glacier and reached by a short, scenic trail, it’s one of
