
14 Best Places to Eat in Leadville, CO (Restaurants We Actually Tried)
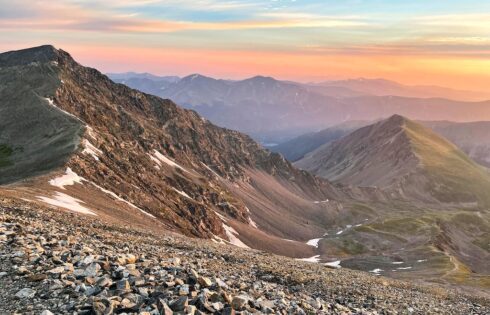
Tucked high in the Colorado Rockies at over 10,000 feet, Leadville is a historic mining town known for its rugged charm, scenic mountain views, and rich Wild West past. Once
Tucked high in the Colorado Rockies at over 10,000 feet, Leadville is a historic mining town known for its rugged charm, scenic mountain views, and rich Wild West past. Once
A few weeks ago, I was scrolling through Facebook when three eye-catching images popped up in a row: a dramatic desert view, a breathtaking canyon, and a peaceful mountain scene.

If you’ve ever been on a road trip in Texas chances are you or someone in your car has wanted to stop at Buc-ee’s. Over the years, Buc-ee’s has established
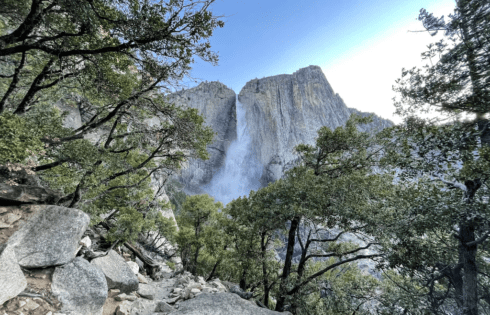
If you’re looking for a hike that delivers jaw-dropping views, serious elevation gain, and the chance to stand beside North America’s tallest waterfall, the Upper Yosemite Falls Trail is calling

Knowing if your flight is going to be full can be very helpful for people who have special requests or are just curious as to what to expect on the

A lot of people like to document their travels or simply take in their experiences by recording videos and snapping photographs. Some airports also are full of interesting architecture and
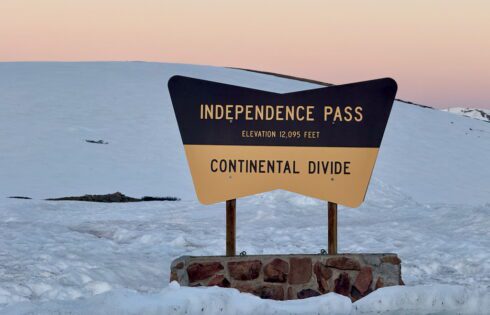
If you’ve spent any time exploring Colorado, chances are you’ve heard people talk about the “Continental Divide“—but what exactly is it, and why do people make such a big deal
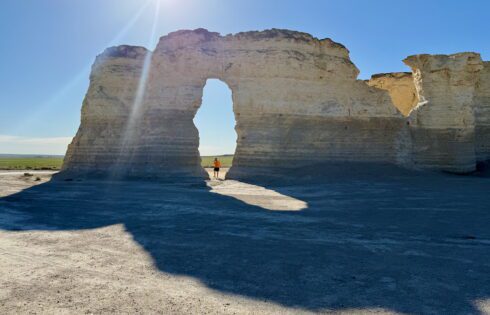
Constantly named as one of the natural wonders of Kansas, Monument Rocks is a destination that often surprises people when they find out that it’s located in the mostly flat

You’ve probably heard of TSA fining people for bringing certain prohibited items through airport security. But how does that process actually work? Can TSA really slap a fine on you

Traveling through airports and flying can already be a stressful experience for many people. But flying when you know you have a warrant out for your arrest can elevate that
