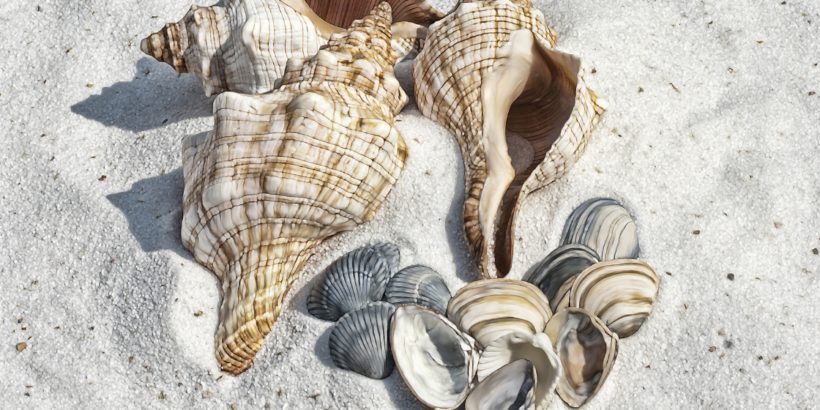
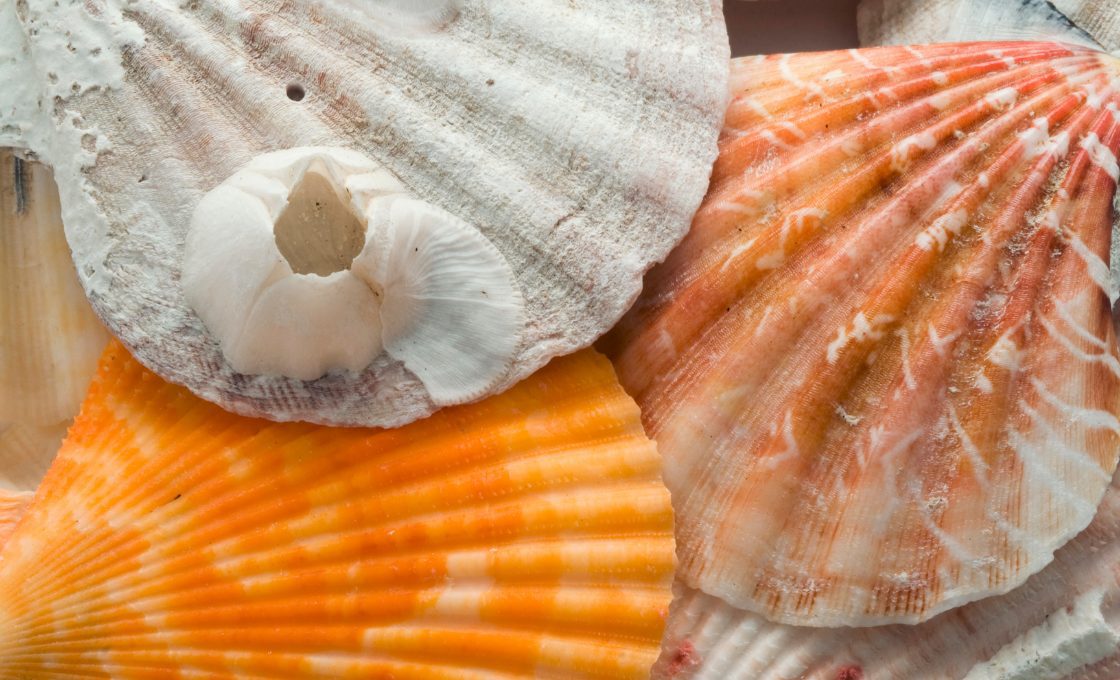
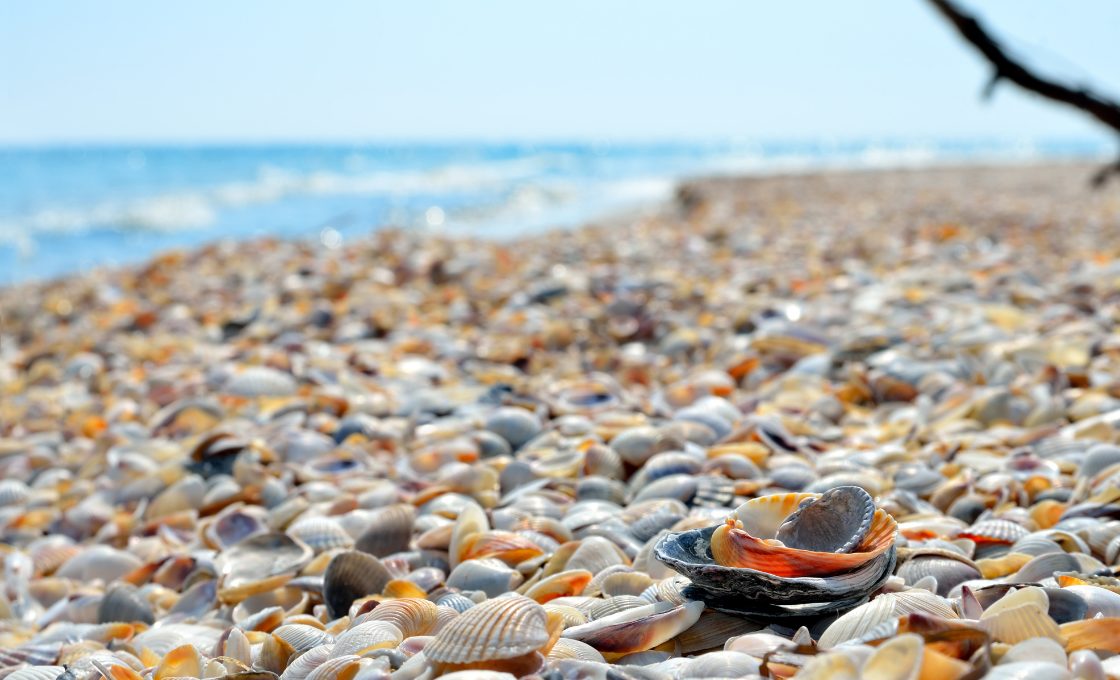
You might be collecting seashells just for fun with your kids, for keepsakes while traveling to amazing beaches, or you might be seeking out some beautiful shells to showcase in your home decor.
Regardless of your motives, you will want to make sure that you take adequate steps to ensure that the seashells you collect are clean and that they look great.
In this article, I will tell you everything you need to know about cleaning seashells.
- Related: 4 Stunning Oregon Coast/Beach Destinations You Want to Check Out
- Related: 10 Best Beaches in California (You Didn’t Know About)
Table of Contents
Is it legal to collect the shells?
The first question that you need to ask yourself is whether or not it is legal for you to collect the shells at your given location.
You should be very mindful about the location that you are thinking about taking shells from.
If you are on certain sites such as a marine reserve there is a chance that it is illegal to remove any shells.
For example, you cannot collect shells at La Jolla Ecological Reserve in San Diego County.
Also, if you are on some type of wildlife refuge typically you are not allowed to take anything with you including empty shells.
Many times you will see signs posted at these locations but that is not always the case so it is on you to do some research ahead of your visit.
If you violate these rules you can be sent to jail, hit with stiff fines, and even get put on probation.
Tip: Use WalletFlo for all your credit card needs. It’s free and will help you optimize your rewards and savings!
Should you collect living shells?
My advice would be generally to avoid collecting living shells.
For one, unless you are very knowledgeable about the different species of living shells in a given area, you will not know what type of impact collecting living shells will have on the local environment.
Even if you are indifferent about killing a simple organism living within a seashell, you could still contribute to disrupting an ecosystem which is something that you don’t want to do.
Moreover, in certain states, if you would like to collect a living shell such as a mollusk, you might need a fishing license.
And collecting other types of living shells may be flat out illegal regardless of what type of license you have.
So unless you are aware of the local Fish and Game regulations and know that you are in compliance with them, you are better off not collecting living shells.
Tip: If you can’t tell whether or not a shell is alive, simply leave it alone in a small tide pool for a while and if it is alive you might see it move or open up.
Cleaning seashells
Assuming that you are allowed to legally collect seashells, here are some steps that you can follow to clean your seashells adequately.
Boiling water method
One of the most popular methods for cleaning seashells is to simply boil them in water.
To do this, simply follow these steps:
- Let your seashells soak in water for several days if possible
- Place your seashells in a large pot with water at room temperature
- Make sure there are a few inches of water above the largest seashell
- Bring the water to a rolling boil for approximately five minutes
- Carefully remove the shells with tongs or a similar apparatus and let them cool down on a towel
Make sure that you do not drop the seashells into boiling water because that could risk cracking or damaging the seashell!
Also, some shells may crack if you boil them too long or if they are too brittle to begin with.
If you have chosen a live seashell then this boiling method should remove the tissue from the shell, allowing you to more easily clean it.
If there was dead tissue within the shell then that should also be loosened up by the boiling water.
In both cases, use something like a pair of tweezers to remove the objects from the inside of the shell.
The bleach method
Some people prefer to bleach their seashells.
This approach is a bit more aggressive but it can be very effective in removing dirt and other waste materials from your seashells.
With this method, you will mix an appropriate amount of bleach with enough water to fully cover your seashells.
Different people use different amounts of bleach. Some recommend mixing about 1 to 3 tablespoons of bleach per 1 gallon of water into a bucket.
When handling bleach, it can be helpful to wear latex gloves but if you are careful enough you can simply drop the seashells into the bleach water.
You will want to then leave the shells alone for several hours, likely 4 to 8 hours depending on how much work the bleach needs to do to remove any gunk, dirt, etc.
Once the time is up then rinse your shells in clean water and placed them somewhere to dry.
Tip: If the shells have a lot of grooves in them or you are not completely satisfied with the removal of debris, a great solution is to simply use an old toothbrush to scrub away little remnants.
The risk with bleaching is that you could affect the appearance of the shell.
If your shelves have nice colors on them it’s very possible that they could be faded by the bleach. (For lighter colored shells this is less of an issue.)
Also, many shells will have a thin coating on them that will be eaten away by the bleach and that could affect the appearance of the shell.
Note: Some people might recommend to use vinegar for cleaning the shelves but this runs with a high risk of dissolving the shells.
Another option that people try is olive oil but that can stain your shells sometimes.
Rinsing water
The third method that you can use is just to rinse the seashells with water.
This will be the least effective at removing particles that are stuck to the shells but it can be a pretty efficient method for washing away sand and other particles.
For best results, you might want to simply soak the shells in water for several days before attempting to rinse them.
For dirty shells, you will most likely also need to use the toothbrush method to remove the grime.
If you are against using bleach or worried about cracking the shells with boiling water, you can also use toothpaste to clean your shells.
If you choose to go the toothpaste route, it’s best to smear toothpaste on the shell and let it sit for several hours so that it can do its magic. You might even think about leaving it on overnight.
Tip: If you find that there are small barnacles attached to your shells, you can use something like a dental tool or perhaps even a wire brush to remove the barnacles.
Bury your shells
If you have a live shell one method to remove the tissue is by digging a small hole and placing the shell in the soil.
This method will take several weeks or months but after a certain amount of time, small organisms in the soil such as insects or even bacteria can remove all of the tissue in the shell for you.
This method is obviously only for those individuals who have extreme patience and who don’t have an immediate need for cleaning live shells.
Polishing your shells
After you have removed all of the dirt or undesirable waste remnants from your seashells, you might be interested in polishing them up especially if you plan to use them for decoration.
There are multiple ways that you can accomplish this.
One way is to use mineral oil and simply rub on the shelves until you are pleased with how polished they look. Mineral oil is great because it is pretty easy to use and it also can be pretty cheap. It also typically provides a nice natural finish.
Another method that you can go with is using some type of acrylic spray that will give them a nice shine.
Acrylic sprays can leave a glossy finish or a matte finish so it is all up to your preference.
Finally, some people will use clear nail polish or baby oil to give their shows a nice luster once they are finished cleaning them.
I’ve even seen some people who have used coconut oil to give their shells a nice shine.
Whatever route you choose to go with the polish remember that you want to apply as little as possible in the beginning to avoid building up too much on the surface of the shell.
Before you apply your polish, you might want to give the shells a full day to dry to make sure that the polish is applied optimally.
Just don’t leave them in the sun for too long because that could cause the colors to fade if they are subject to strong UV rays.
Tip: When applying your material to the shell you might need to only do one side of the shell per day in order to give it enough time to dry.
Smelly seashells
If your seashells begin to smell bad after several days then chances are there is some type of dead organism or remains of a dead organisms within your shells.
You can use one of the methods above such as the bleaching method or boiling method to remove the dead remnants.
But you can also try other methods such as soaking the shell in water and replacing that water every day in order for the rotting organism to be expelled.
In some cases, you might actually need to shake the shell to loosen up any particles.
If you are dealing with a particularly large shell then you can use a nozzle on something like a hose to hit it with a stream of water that could potentially loosen up whatever is inside.
Final word
As you can tell, the process for cleaning your seashells is pretty straightforward.
First, you need to make sure that you are not illegally picking up seashells or unnecessarily disturbing an ecosystem.
Then you can choose whether you want to use a boiling method or a bleach method to wash off your shells.
If your shells are particularly dirty, you might need to do a little bit of scrubbing with an old toothbrush.
And if you want a polished finish on your seashells then consider using mineral oil or some type of acrylic spray to give them a nice finished look.
Daniel Gillaspia is the Founder of UponArriving.com and the credit card app, WalletFlo. He is a former attorney turned travel expert covering destinations along with TSA, airline, and hotel policies. Since 2014, his content has been featured in publications such as National Geographic, Smithsonian Magazine, and CNBC. Read my bio.
