
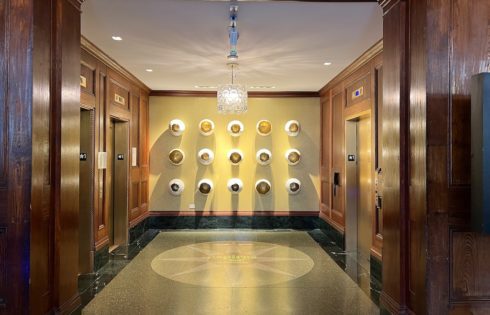
Hotel Elevator “Close Door” Buttons: Do They Actually Work?
Have you ever been in a hurry to get to your hotel room, only to be delayed by the slow-closing elevator doors? You press the “close door” button, but it
Have you ever been in a hurry to get to your hotel room, only to be delayed by the slow-closing elevator doors? You press the “close door” button, but it
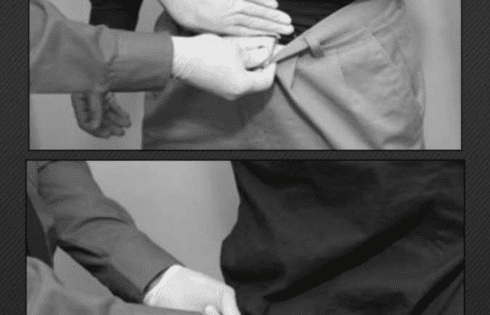
When it comes to pat downs, TSA doesn’t have the best reputation and it’s one of the reasons why it’s even earned the nickname of “Touching Sensitive Areas.” But all
Just like airlines, hotels like to maximize their profits by achieving 100% occupancy or as close to it as possible. Because a certain percentage of hotel guests never show up
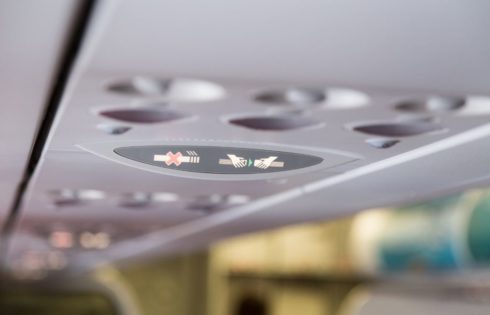
I love almost everything about flying except for a few things. One of these is dealing with stressful bathroom situations that arise when you need to go but the fasten
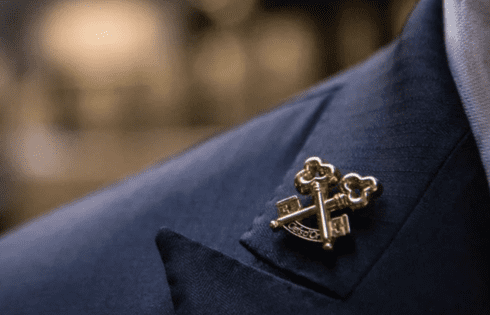
If you’ve ever stayed at a higher end property, you may have noticed a concierge wearing a shiny golden pin consisting of crossed keys. These members belong to an elite
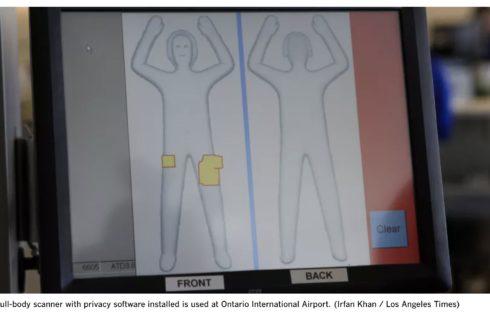
Getting through TSA and airport security is already stressful enough but there’s an additional screening method that you might be subjected to at times. And it happens when you find
Have you ever been in a hurry to get to your hotel room, only to be delayed by the slow-closing elevator doors? You press the “close door” button, but it
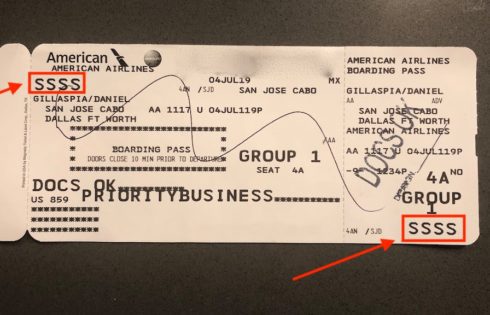
Do you ever worry about getting flagged by TSA when making your way through an airport? Well, there’s quite a few things that could potentially trigger you getting flagged by
Knowing if your flight is going to be full can be very helpful for people who have special requests or are just curious as to what to expect on the

You’ve probably heard of TSA fining people for bringing certain prohibited items through airport security. But how does that process actually work? Can TSA really slap a fine on you
