Loews Ventana Canyon Resort Review |Tucson, Arizona
Loews is a smaller but luxurious hotel program (27 hotels as of early 2026) that I had never tried before, so I was very excited to book a stay at
Loews is a smaller but luxurious hotel program (27 hotels as of early 2026) that I had never tried before, so I was very excited to book a stay at
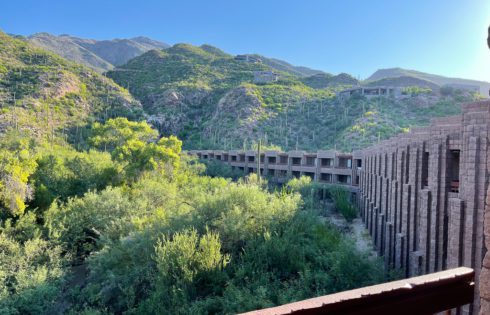
Loews may not be the biggest hotel brand but it offers a distinct sense of luxury and charm. I recently had the chance to stay at Loews Ventana Canyon Resort
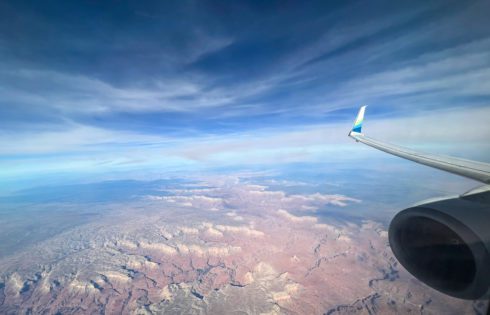
When it comes to flying into and out of Arizona, you have quite a few options. While the state is pretty large (6th largest overall), the airports are clustered mostly

Tucson has a reputation for being warm and sunny as it is a city located in the arid Sonoran Desert. But does this city located in one of the hottest
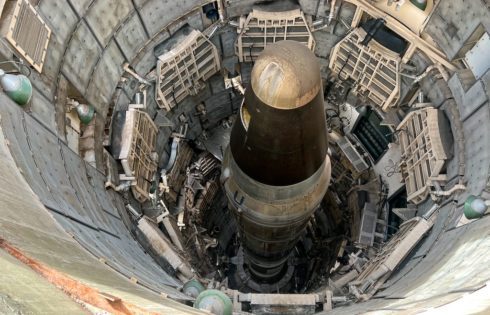
If you’re ever in the Tucson area and looking for something completely unique, fascinating, and eye-opening to do then look no further than the Titan Missile Museum in Green Valley,

A visit to Mount Lemmon can be a perfect day trip but also an amazing weekend or multi-day getaway. Below, I’ll go into detail for all of the different things
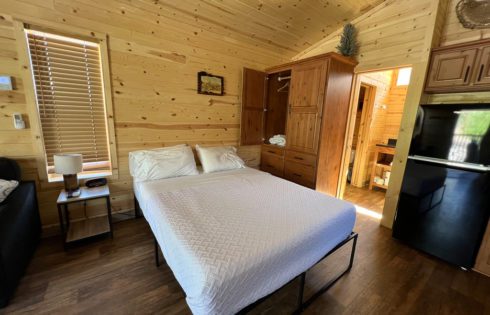
The Mount Lemmon Hotel is one of the newest places to stay on beautiful Mount Lemmon. It’s a small row of small cabins found right in the heart of Summerhaven,
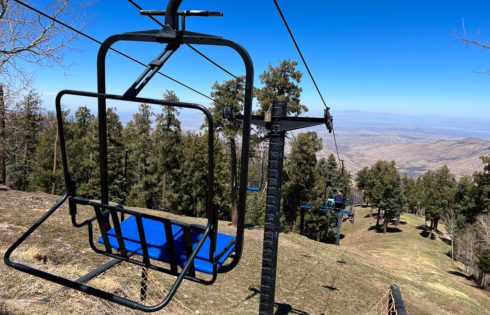
Mt Lemmon is one of the primary attractions in Tucson, Arizona. There’s a million different ways to explore Mt Lemmon but one of the coolest ways to check out the

Cannabis tourism is still just in its infancy but it’s really interesting to see the type of attractions that are popping up all around the country in states that have
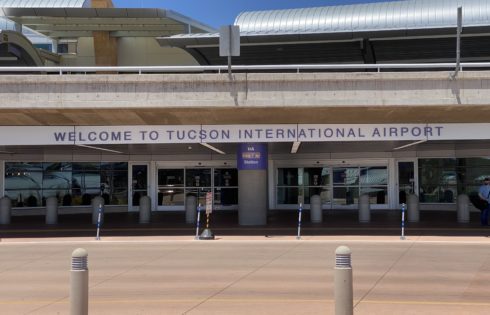
Tucson International Airport (TUS) is one of my favorite airports because it is a smaller airport that is extremely easy to get in and out of. There are multiple different
