If you don’t have a lot of experience with traveling through airports, you might be wondering how to successfully navigate through the airport problem free.
In this guide I’ll give you a step by step approach you can take so that you don’t have any mishaps.
I’ll simplify everything to make it as easy to remember as possible but you also may want to bookmark this article for easy access.
Table of Contents
Pre-airport steps
While this article will focus on what to do when you arrive at the airport, I’d be remiss if I did not mention a couple of things you need to do before you show up at the airport.
Confirm flight details
Before you ever get to the airport, you should confirm your flight details to make sure your flight date and time are correct.
I hate to admit it but in my early travel days I once missed a flight because I thought I had booked it for a day later. Had I simply checked my flight 48 to 72 hours before my trip I would’ve caught the mistake.
If you are new to traveling then this should be one of the top priorities a few days before your flight!
Check-in
You should be able to check in online through the airline’s website or through their app before you ever step foot in the airport. This will open up 24 hours before your flight in most cases.
Checking in is helpful because it can save you time when you arrive at the airport but it could also be helpful for other reasons. For example, did you know that it can decrease the odds of you getting bumped from your flight?
Don’t bring things that are not allowed
As you are packing for your trip, make sure that you are not bringing along prohibited items that could get you hung up going through airport security.
On UponArriving, we have written extensively about all the different types of objects allowed and not allowed on planes. So you can do a search on our blog to see if you can find anything relevant to an object you want to bring.
The TSA website is also a great resource as well but they don’t always go into a lot of detail so it’s always good to supplement your knowledge with a detailed blog post.
Have your documents with you
In order to fly around the US you’ll need to have an ID recognized by TSA. For most people, this is a driver’s license although in 2025 this will have to be a REAL ID compliant ID.
If you are flying internationally, then you will want to make sure that you also have your passport.
Okay, so those are all the steps you need to do just before your flight and now let’s focus on what to do when you arrive at the airport.
Step 1: Arrive to the airport at the right time
You want to make sure that you are arriving at the airport at the correct time. The general rule of thumb is to arrive two hours before a domestic flight and three hours before an international flight.
However, those time recommendations can be divided in half for some people, depending on the route, the airport, etc. If you don’t have a lot of experience with traveling then it’s best to play it conservatively.
But don’t get there too early if you have a really early flight because you might be sitting around for a while with no facilities open!
Related: What Time Does the Airport Open?
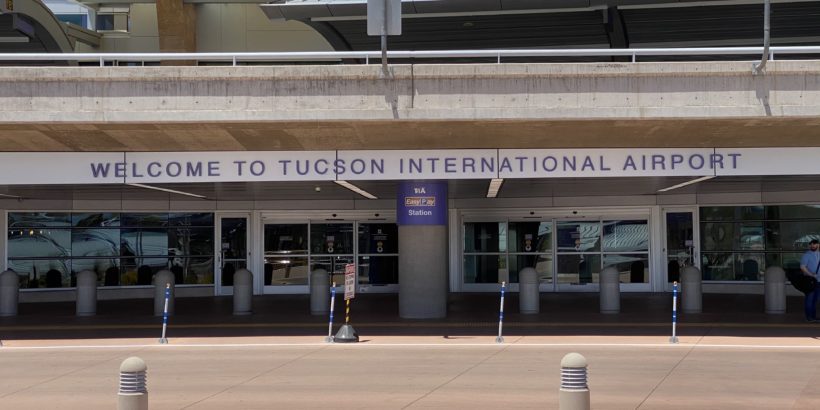
Step 2: Arrive at the right departures terminal
First, make sure you are getting dropped off or that you find parking in the correct departure section.
It may sound silly but some people get mixed up on the difference between arrivals and departures.
Because they are “arriving” at the airport they think that they need to head to arrivals but you will want to head to departures. (In the end, this doesn’t always make a huge difference because you can just take an elevator to go from one to the other but it can complicate things like parking.)
When arriving at the airport your goal is to find the terminal you are departing from and then find the section of the terminal serving your airline.
Finding the terminal you are departing from is usually easy because you can just look at your boarding pass. If you don’t have that information, you can look it up on the airline’s website or look for signs when you arrive at the airport. That’s because certain terminals will be designated to specific airlines.
Next, if you’re dealing with a terminal that serves multiple airlines you want to find the section of the terminal that is serving your specific airline. Again, just look for the signs.
If you are getting dropped off by an Uber driver or Taxi, let them know what airline you are flying on and they should take you right to that section of the terminal.

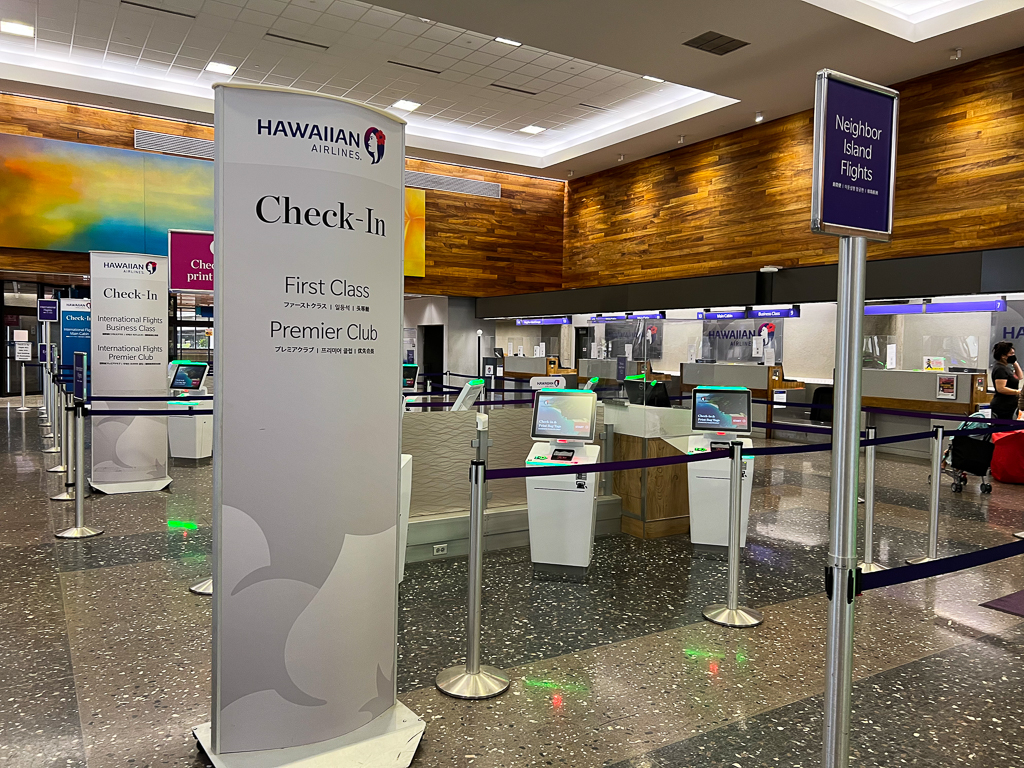
Step 3: Head to a check in/baggage counter if needed
If you already checked in on your mobile device you don’t need to go to any check-in desk unless you have bags to check.
(If you do need to check in then you can probably do that at a kiosk or you can go speak with an agent at a check-in desk.)
If you have bags to check then the first thing you want to do is to weigh your bags.
A lot of airports now set up special weigh stations so that you can make sure your baggage is underneath the weight requirements. This would typically be 40 to 50 pounds for a standard economy ticket. If your bag is over that amount then you want to re-shuffle some contents and try to put them into your carry-on bag.
Once you know that your bags are under the weight limits you will have to make your way to the baggage counter.
There will usually be two lines at these check-in/baggage areas. One line will be for non-elite members and also for economy passengers. Most likely, this will be the longest line.
There will also be a separate line for elite passengers and for people flying in business class or first class. So make sure that you join the proper line based on your ticket and elite status.
Step 4: Prepare for security
It’s always helpful to prepare for security before you step foot in the line.
That’s because you would otherwise be forced to get ready in a hurry or to remove items as you are trying to pull your luggage along.
So before you even head over to the security line consider doing the following:
- Remove watches, belts, or anything else that could set off the metal detector
- Place your electronics like your phone in a compartment in your bag
- Empty out anything in your pockets and place them in your bag
- Have your ID and boarding pass in your hand
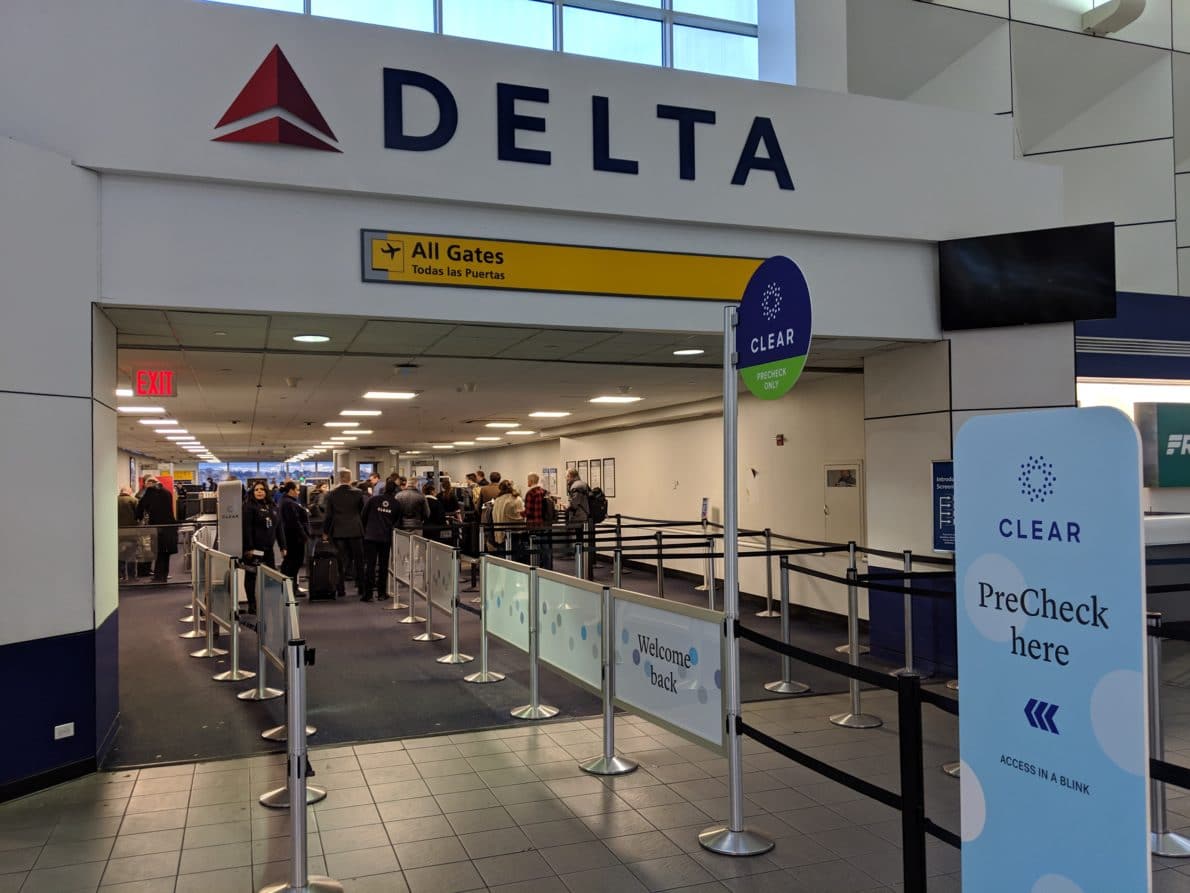
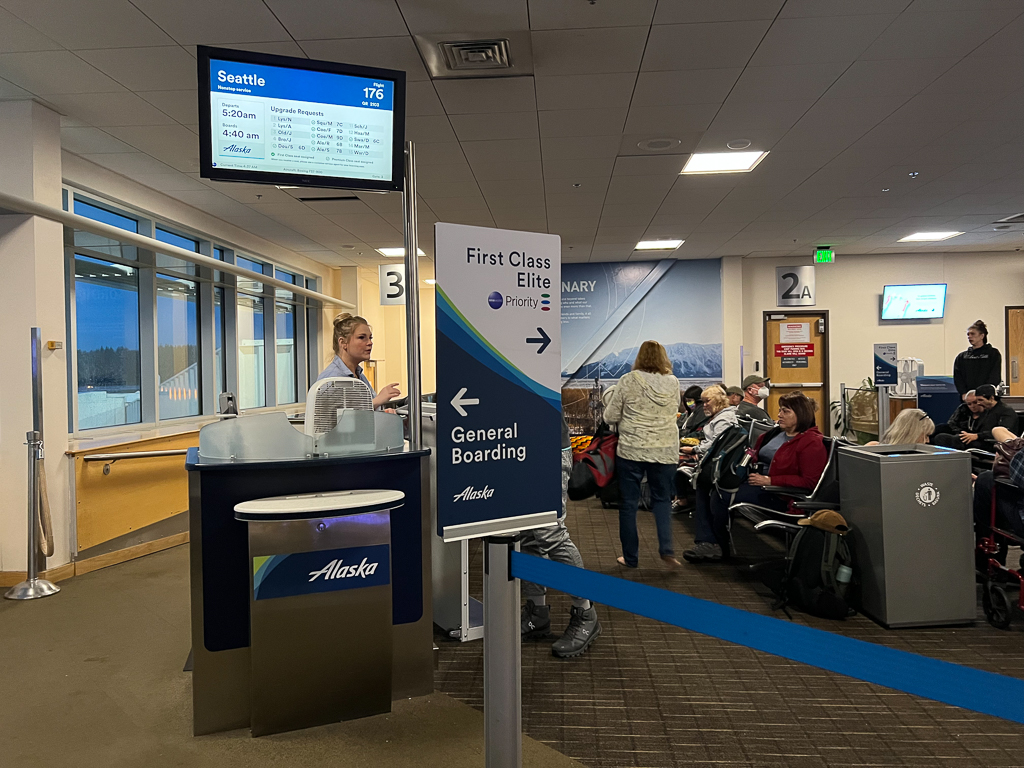
Step 5: Head to the right security line
As soon as your bags are checked and you have your boarding pass, you are ready to go through airport security.
But you should take a few seconds to make sure that you are choosing the right security line. I constantly see people entering the wrong line and then slowing things down so don’t overlook this step!
Here are the different lines you may see:
- Elite status line: Only for passengers with elite status or flying first/business
- TSA Pre-Check: Expedited screening line only for Pre-Check members
- CLEAR: Allows you to skip the line; only for registered members.
If you don’t have any special membership then you will just head to the general security line which once again will probably be the longest line.
Step 6: Make your way through security
When you arrive at the security line you will show your ID and boarding pass and then it will be time to go through the security checkpoint.
When going through the standard security line, you will have to remove:
- Shoes
- Belts
- Light jackets
- Laptops
- Liquids (3-1-1 Rule)
When you remove these items you will place them on a tray and then make sure that you push that tray onto the conveyor belt before you walk through the full body scanner or walk-through metal detector.
(TSA agents are notorious for scolding passengers for not pushing through trays.)
Once you step in front of a scanner, a TSA agent will signal for you to walk through and then you’ll simply wait to be cleared.
If an alarm goes off or you have an item with you that needs enhanced screening, an agent may need to take a closer look. This could involve your items getting swabbed or you getting some type of pat down or both.
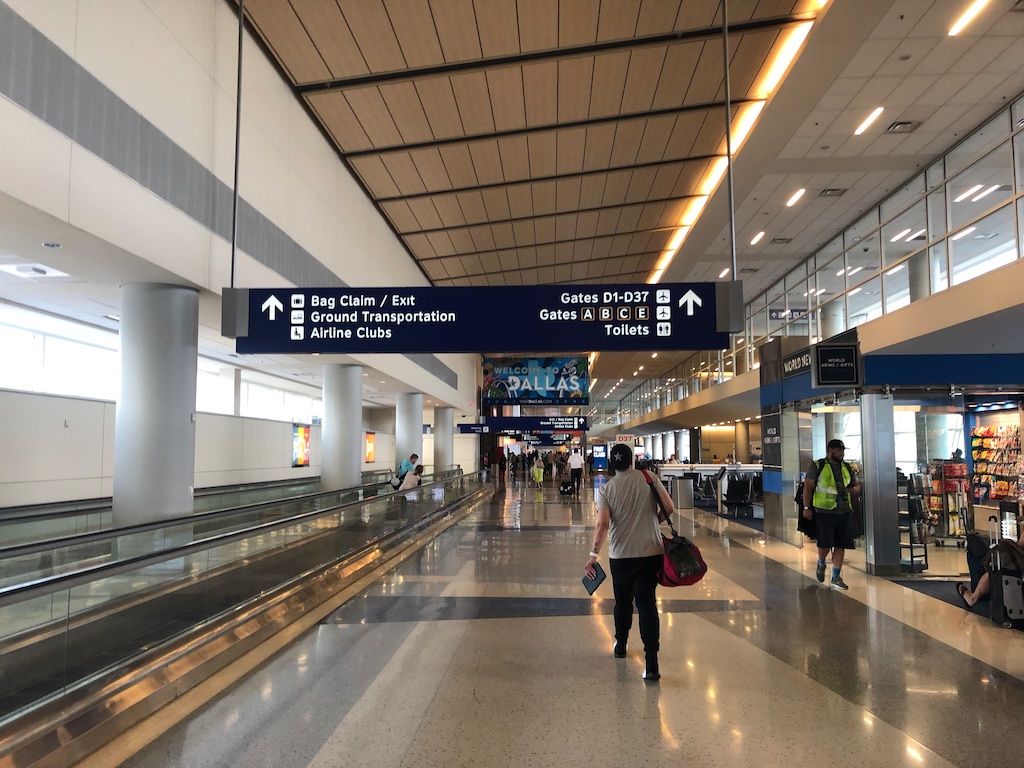
Step 7: Verify your gate
At this point, all of the stressful stuff is over with!
Now, you can relax as you head to your gate assuming that you are not running through the airport Home Alone style.
But this is also the perfect time to verify that your gate number has not changed.
The way to do this is to simply check one of the flight monitors found in the airport, often located near security.
You will look for your flight number and destination on that screen and verify what terminal and gate you are flying from. While this information should also be on your boarding pass, sometimes it can change which is why this is such a good time to verify.
Step 8: Find the food court or airport lounges if needed
If you have a lot of time to kill you may want to spend it at a restaurant or bar inside the airport. Or, if you have lounge access then you’ll want to find an appropriate lounge to visit.
Ideally, you will find a restaurant or lounge close to your gate. If you are lucky, you might even be right next to your gate and in that case you can really relax because you know it will only take you a couple of minutes to get to your gate when it is time to board.
I typically try to first make my way towards my gate and see if I see any stores or restaurants located along the way.
If you need to venture far from your gate then try to ask an airport agent or employee how far away your gate is. They should be able to let you know if you’re dealing with a five minute walk versus a 20 minute walk.

Step 9: Get any drinks or snacks needed for the flight
The most important thing for me on a flight is to have sufficient water. I don’t trust the water on the plane so I always make sure I have bottled water.
Ideally, I have my refillable water bottle with a filter that I can fill up at the airport with a drinking fountain machine or fill station. But if I don’t have that then we will just buy the overpriced water bottles at one of the new stand stores in the terminal.
You also want to think about snacks.
Food on the aircraft is not always the most appetizing so you might want to purchase something at one of the stores to take with you, especially on a longer flight. Good food items include sandwiches and wraps but just try not to buy anything that will have a strong odor!
Step 10: Show up to boarding on time
The boarding time for your flight should be found on your boarding pass.
The exact boarding time will depend on the size of your aircraft but generally you can expect boarding to be about 35 to 50 minutes prior to departure.
These are the absolute latest times you should arrive at the gate for boarding:
- Domestic: 15 to 30 min before departure
- International: 45 min+ before departure
Step 11: Make any needed boarding requests
If you think that you’ll need extra time to board or if you will need some type of assistance then you most likely qualify for pre-boarding.
This will give you an opportunity to get on the plane before all of the boarding groups are called. If you think you fall into this group simply speak with an agent at the gate and they can get you situated.
Step 12: Final bathroom check
While there will be a bathroom on the airplane, it helps if you relieve yourself just before the flight while still on the ground.
You can do this by hitting up the bathroom nearest to your gate just a little bit before boarding begins.
Another way to do this is to use the bathroom on the aircraft as soon as you enter the plane. That can be a little bit more tricky because you might be dealing with a lot of passenger traffic so it’s not always recommended.
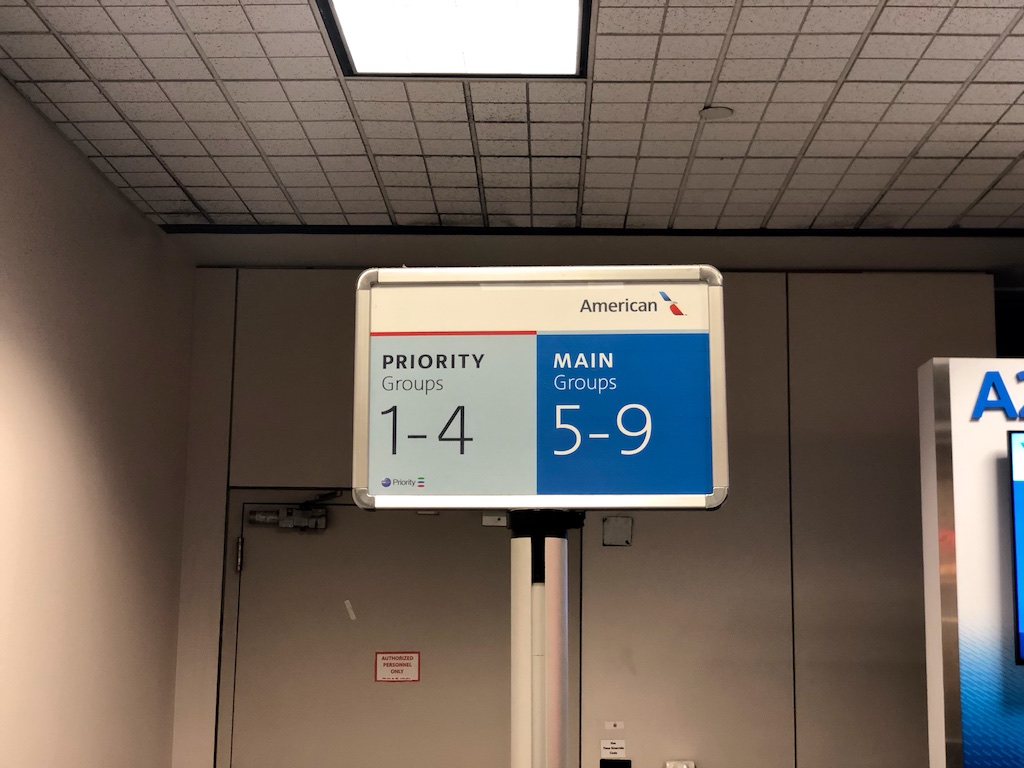
Step 13: Begin boarding when your group is called
Your boarding pass will have a specific boarding group listed on it and every airline has a different system for how they board.
Most of them utilize boarding groups and the order of those groups is determined based on things like your cabin, elite status, credit card membership, etc. All you need to do is to wait for your specific group to be called in then head to the line.
For a deep dive into the boarding policy of a given airline, check out the guides below:
- Alaska Airlines
- American Airlines
- Delta Air Lines
- JetBlue
- Frontier Airlines
- Hawaiian Airlines
- Southwest Airlines
- United Airlines
Final word
If you follow these 13 steps, your next airport visit should be pretty smooth as you’ll know exactly what to expect and you will avoid creating a lot of bottlenecks that inexperienced travelers often create!
Daniel Gillaspia is the Founder of UponArriving.com and the credit card app, WalletFlo. He is a former attorney turned travel expert covering destinations along with TSA, airline, and hotel policies. Since 2014, his content has been featured in publications such as National Geographic, Smithsonian Magazine, and CNBC. Read my bio.
